 Save
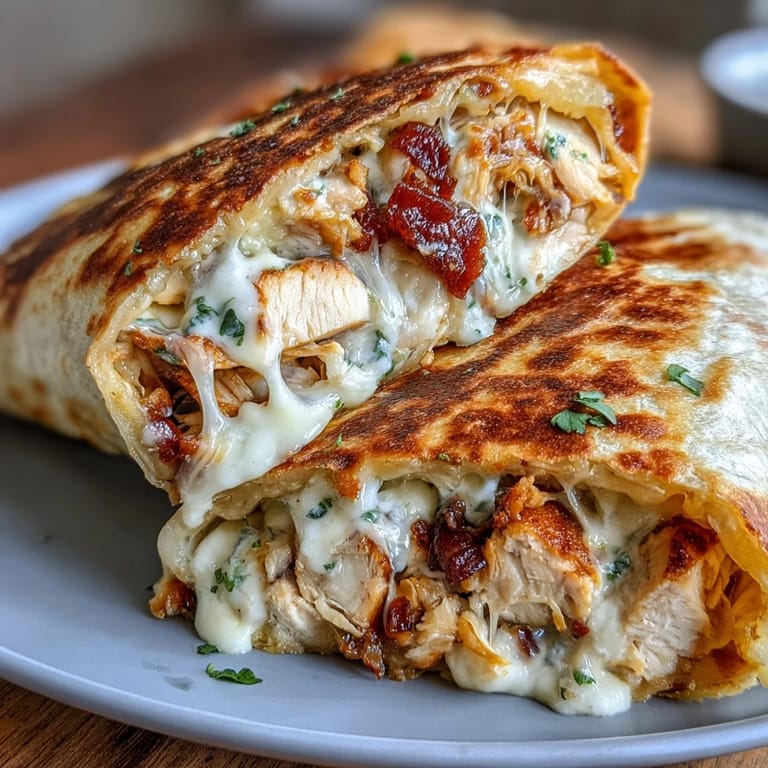
Save One Tuesday afternoon, I was staring at a container of rotisserie chicken and wondering how to transform it into something that didn't feel like leftovers reheated for the third time. I grabbed a low-carb tortilla, some cheese, and within minutes had created these golden, melty wraps that actually made me excited about dinner. The combination of tender chicken, three kinds of cheese, and that sharp garlic hit just right, and it's been my go-to weeknight solution ever since.
I made these for my sister during her keto experiment, and she went quiet for a moment after taking the first bite, then looked up and said, 'Okay, I can actually do this diet.' Watching someone realize that eating well doesn't mean sacrificing flavor is a special kind of kitchen magic.
Ingredients
- Shredded cooked chicken breast: Use store-bought rotisserie or leftover chicken you've already cooked; this is where you save time without sacrificing quality.
- Mozzarella and cheddar cheese: A mix of both gives you the meltiness from mozzarella and the depth from cheddar, which is the secret to these tasting so much better than a single-cheese version.
- Cream cheese: This binds everything together and creates a creamy texture that holds the filling in place as the tortilla cooks.
- Fresh minced garlic: Pre-minced garlic works in a pinch, but fresh cloves make an enormous difference in how vibrant these taste.
- Fresh parsley: Don't skip this; it brightens the whole filling and adds a fresh note that cuts through the richness.
- Low-carb tortillas: These vary by brand, so test how they roll and hold heat before committing all four wraps to the skillet at once.
- Olive oil: Just enough to prevent sticking and create those golden, slightly crispy edges that make them restaurant-quality.
Tired of Takeout? 🥡
Get 10 meals you can make faster than delivery arrives. Seriously.
One email. No spam. Unsubscribe anytime.
Instructions
- Prepare your canvas:
- Heat your skillet over medium heat and give it a light swirl of olive oil. You want the pan warm enough that when you place a wrap down, it immediately makes a soft sizzle, which tells you the temperature is right.
- Build the filling:
- Combine your shredded chicken, both cheeses, softened cream cheese, garlic, and parsley in a bowl and stir until it feels uniform and creamy. The cream cheese should act like glue, holding everything in place so the filling doesn't scatter when you roll.
- Fill and roll:
- Place about a quarter of the filling in the center of each tortilla, then roll tightly from one side to the other, tucking in the ends as you go. Think of it like a burrito, but a little tighter since you'll be cooking it immediately.
- Cook until golden:
- Lay each wrap seam side down in the hot pan and cook for 2 to 3 minutes until the bottom is golden and the cheese starts to meld through the tortilla. Flip gently and cook the other side for another 2 to 3 minutes.
- Finish and serve:
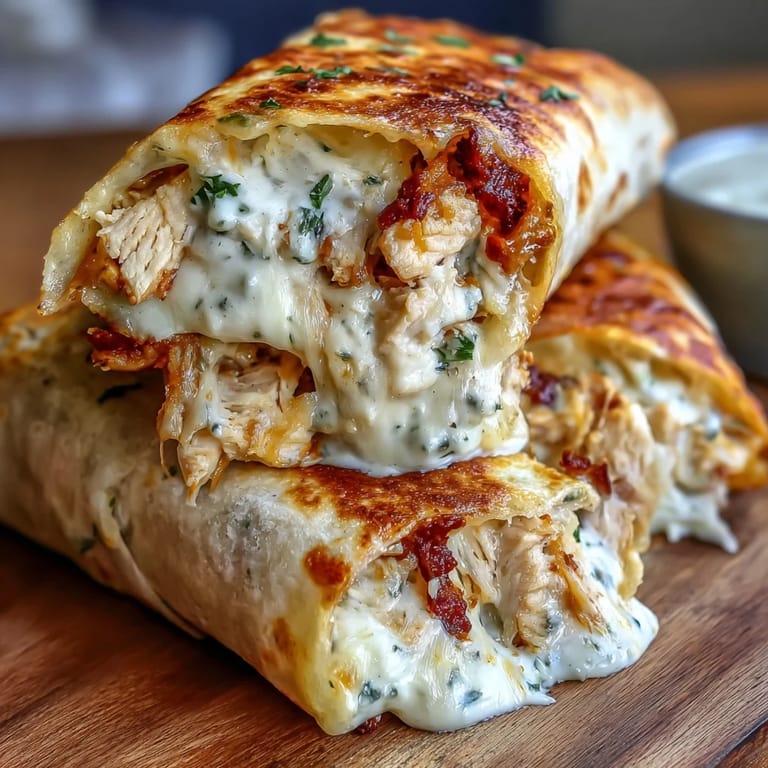
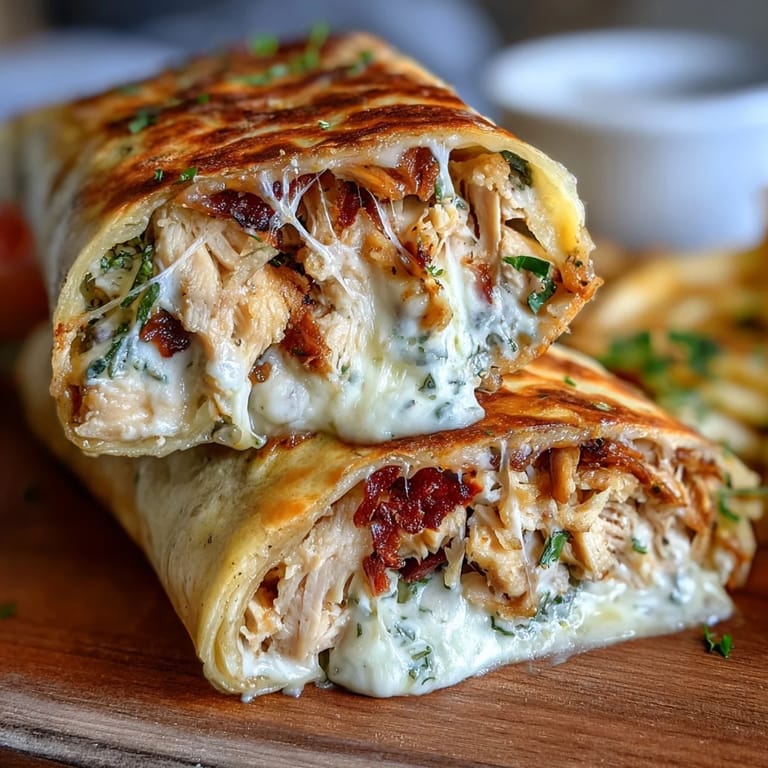
- Slide onto a cutting board and let cool for just a minute, then slice each wrap in half diagonally to show off that melted cheese center. A sprinkle of fresh parsley on top makes them look like they came from a real restaurant.
 Save
Save There's something deeply satisfying about watching someone take a bite of something you made and immediately ask for the recipe. These wraps have that effect, and it's because they taste indulgent despite being completely reasonable nutritionally.
Flavor Variations That Actually Work
Once you nail the basic version, you can play with additions without losing what makes these special. A pinch of smoked paprika adds a subtle depth that makes people ask what that complex flavor is. Chili flakes bring a gentle heat that doesn't overpower the garlic and cheese. Even a tiny bit of ranch powder mixed into the filling creates a completely different but equally craveable wrap.
Why This Works as a Meal Prep Situation
You can assemble these wraps the night before, cover them with plastic wrap, and cook them straight from the fridge the next day. They brown beautifully even when cold because the filling stays stable and the cheese melts predictably. Store any leftovers in an airtight container for up to three days, and reheat briefly in a skillet to restore the crispy exterior.
The Details That Make Them Better
The difference between good and great is often just paying attention to small things while you cook. Make sure you're using a medium heat rather than high so the cheese melts through before the tortilla burns. The seam side down placement matters because it seals as it cooks, keeping everything tucked in. Letting them rest for just 60 seconds before cutting prevents the filling from spilling out everywhere.
- Test your tortilla brand's flexibility before filling to make sure it won't crack or tear as you roll.
- If your first wrap falls apart, don't abandon ship; just use that as your test run to adjust your filling amount.
- Pair these with a simple green salad or a keto-friendly sauce to round out the meal without adding work.
 Save
Save These wraps remind me that eating well doesn't require complicated techniques or exotic ingredients, just a little intentional assembly and a hot pan. They're the kind of food that makes you feel both nourished and genuinely satisfied.
Recipe FAQ
- → What cheeses work best in these wraps?
Mozzarella and cheddar provide melty texture and sharpness, while cream cheese adds creaminess to the filling.
- → Can I use other proteins besides chicken?
Yes, cooked turkey or rotisserie chicken can be substituted without compromising flavor or texture.
- → How do I keep the wraps from becoming soggy?
Cook the wraps seam side down first to seal and crisp the exterior, which prevents sogginess inside.
- → Are low-carb tortillas necessary for this dish?
Low-carb tortillas maintain the keto-friendly profile, but gluten-free alternatives can be used if preferred.
- → Can I prepare the filling in advance?
The filling can be mixed ahead and refrigerated for up to 24 hours before assembling and cooking the wraps.