 Save
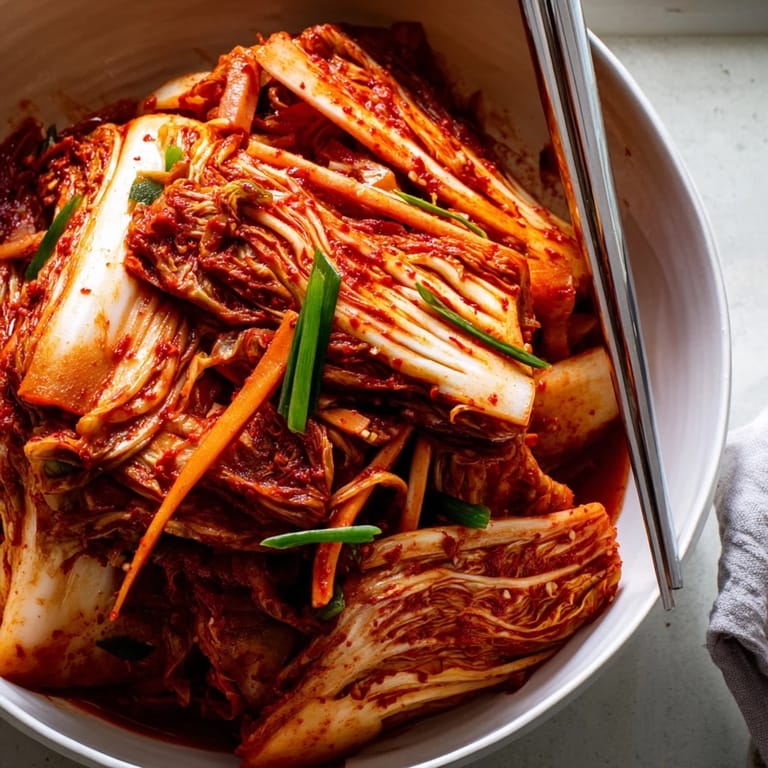
Save Kimchi is a vibrant, spicy, and tangy traditional Korean side dish that serves as a cornerstone of Korean cuisine. Made from fermented napa cabbage and radishes, this nutrient-dense staple is seasoned with a bold mix of chili, garlic, and ginger. Packed with probiotics, it delivers a satisfying burst of umami and crunch to any meal, enhancing everything from simple rice dishes to complex stews.
Save While preparing traditional kimchi takes a bit of time and patience, the process is incredibly rewarding. The fermentation stage, which lasts anywhere from two to seven days, allows the flavors to meld and develop a unique depth that store-bought versions simply cannot match. This recipe yields approximately 2 liters, providing you with about 12 servings of homemade goodness.
Ingredients
Tired of Takeout? 🥡
Get 10 meals you can make faster than delivery arrives. Seriously.
One email. No spam. Unsubscribe anytime.
- 1 large napa cabbage (about 1.2 kg / 2.5 lbs)
- 1 medium daikon radish (about 200 g), julienned
- 4 scallions, sliced
- 1 medium carrot, julienned (optional)
- 80 g (1/3 cup) coarse sea salt
- 1.5 liters (about 6 cups) cold water
- 6 cloves garlic, minced
- 1 thumb-sized piece fresh ginger, peeled and minced
- 1 small onion, roughly chopped
- 3 tbsp fish sauce (or soy sauce for vegan)
- 1 tbsp sugar
- 3–5 tbsp Korean red chili flakes (gochugaru), to taste
- 2 tbsp rice flour
- 150 ml (2/3 cup) water
Instructions
- Step 1: Prep the Cabbage
- Cut the napa cabbage lengthwise into quarters, then chop into 2-inch pieces.
- Step 2: Brining
- Dissolve sea salt in 1.5 liters cold water in a large non-reactive bowl. Add cabbage pieces, tossing to coat. Place a plate and a weight on top to keep submerged. Let sit for 2 hours, tossing every 30 minutes.
- Step 3: Rinsing
- Rinse the salted cabbage thoroughly under cold water 2–3 times to remove excess salt. Drain well.
- Step 4: Thickening Paste
- To make the spice paste, whisk rice flour with 150 ml water in a small saucepan over medium heat until thickened (about 1–2 minutes). Let cool.
- Step 5: Blend Spice Mix
- In a blender, combine cooled rice paste, garlic, ginger, onion, fish sauce (or soy sauce), and sugar. Blend until smooth. Stir in gochugaru to desired spice level.
- Step 6: Seasoning
- In a large bowl, combine drained cabbage, daikon radish, carrot (if using), and scallions. Add spice paste and, using kitchen gloves, massage thoroughly to coat all vegetables.
- Step 7: Packing
- Pack the kimchi tightly into clean glass jars or a fermentation crock, pressing down to eliminate air pockets. Leave at least 2.5 cm (1 inch) headspace at the top.
- Step 8: Initial Fermentation
- Seal and leave at room temperature out of direct sunlight for 1–2 days, burping the jars daily to release gas.
- Step 9: Storage
- Taste after 48 hours; once sour and tangy to your liking, store in the refrigerator. Kimchi will continue to ferment slowly and develop deeper flavors over several weeks.
Zusatztipps für die Zubereitung
When packing the jars, it is crucial to press the vegetables down firmly to eliminate air pockets, which helps prevent spoilage. Remember to burp the jars daily during the room temperature stage to release carbon dioxide pressure. For the best flavor development, use a non-reactive bowl (like glass or stainless steel) when brining and mixing.
Varianten und Anpassungen
For a milder version of kimchi, you can reduce the amount of gochugaru or add a grated apple or pear to the spice paste for natural sweetness. To make this recipe vegan, simply replace the fish sauce with soy sauce or a specialized vegan fish sauce. Ensure your soy sauce is gluten-free if you have dietary restrictions.
Serviervorschläge
Kimchi can be enjoyed as a classic side dish, incorporated into savory soups, or served alongside rice and fried eggs. For a refreshing beverage pairing, try it with a crisp lager or a glass of dry Riesling, which complements the tangy and spicy profile of the ferment.
 Save
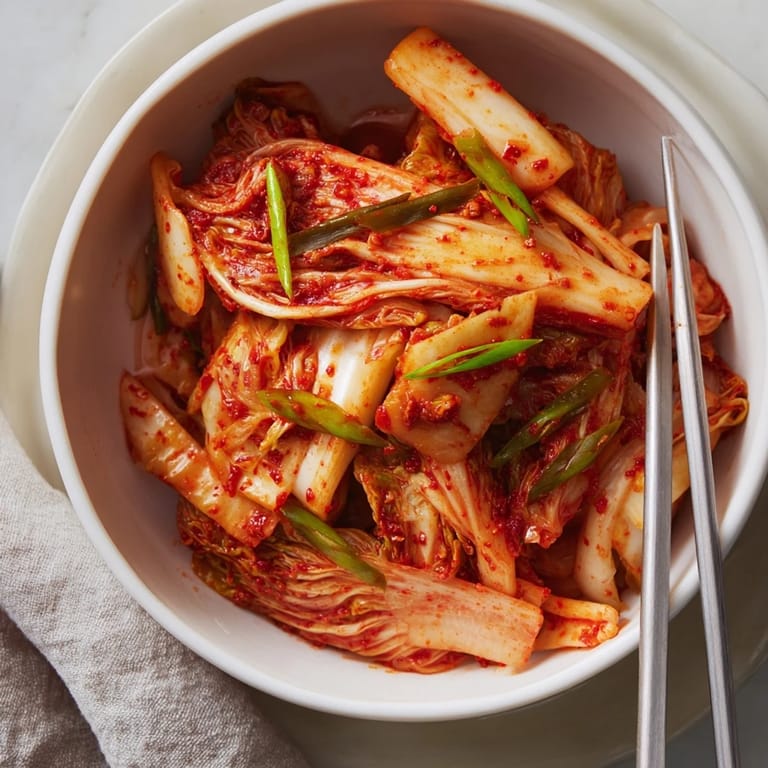
Save With 35 calories and 7 grams of carbohydrates per serving, this homemade kimchi is a healthy way to add massive flavor to your diet. Once refrigerated, it will continue to develop deeper, more complex notes over the coming weeks.
Recipe FAQ
- → How long does kimchi need to ferment?
Kimchi ferments at room temperature for 1-2 days, developing tanginess and flavor. After initial fermentation, transfer to the refrigerator where it continues aging slowly, developing deeper and more complex flavors over several weeks.
- → What is gochugaru and can I substitute it?
Gochugaru refers to Korean red chili flakes with a specific heat level and slightly sweet flavor profile. While you can substitute with regular red pepper flakes, the taste will differ. Look for gochugaru at Asian markets or online for the most authentic result.
- → Why use rice flour in the spice paste?
Rice flour creates a smooth, thickened base that helps the spice paste adhere evenly to vegetables and promotes proper fermentation. The starch also feeds beneficial bacteria, supporting the probiotic development that gives kimchi its characteristic tang.
- → How do I know when kimchi is ready to eat?
Taste your kimchi after 48 hours of fermentation. When it reaches your desired level of sourness and tanginess, move it to cold storage. The flavor continues evolving—some prefer fresh, mildly sour kimchi while others enjoy it fully fermented and quite pungent.
- → Can I make kimchi without fish sauce?
Absolutely. Substitute fish sauce with soy sauce or vegan fish sauce alternatives for a completely plant-based version. The umami depth will still be rich, thanks to the fermented vegetables, garlic, ginger, and chili paste combination.
- → Why do I need to burp the jars?
Burping releases carbon dioxide produced during fermentation. Without venting, pressure builds up and can cause jars to crack or leak. Simply open the lid briefly once daily to release accumulated gas, then reseal tightly.