 Save
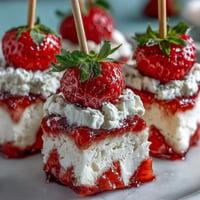
Save The first time I stood back and admired a donut tower, it wasn’t the donuts themselves that made me grin–it was the burst of laughter from my cousin when a sprinkle bounced off the top and landed right in her orange juice. There’s something infectious about building desserts with your hands, stacking each tier with a hint of suspense, then tipping your head back to see if it all holds. This Donut Tower with Sprinkles isn’t just dessert; it’s pure celebration bottled up in glaze and color, practically humming with the energy of a graduation party. The kitchen always grew a few degrees warmer as we arranged the rings, but no one minded—not with the sweet aroma filling the room and graduation tunes on in the background.
Last spring, my kitchen buzzed with nervous excitement as we prepared this tower for my sister’s high school graduation. Each donut was carefully dipped and twirled by a parade of helpers, from little nieces licking icing off their fingers to grandparents criticizing our sprinkle patterns with a grin. The giggles and splatters made it all the more festive, and by the time the tower was topped with a tiny cap, it felt like every donut carried a story from that day.
Ingredients
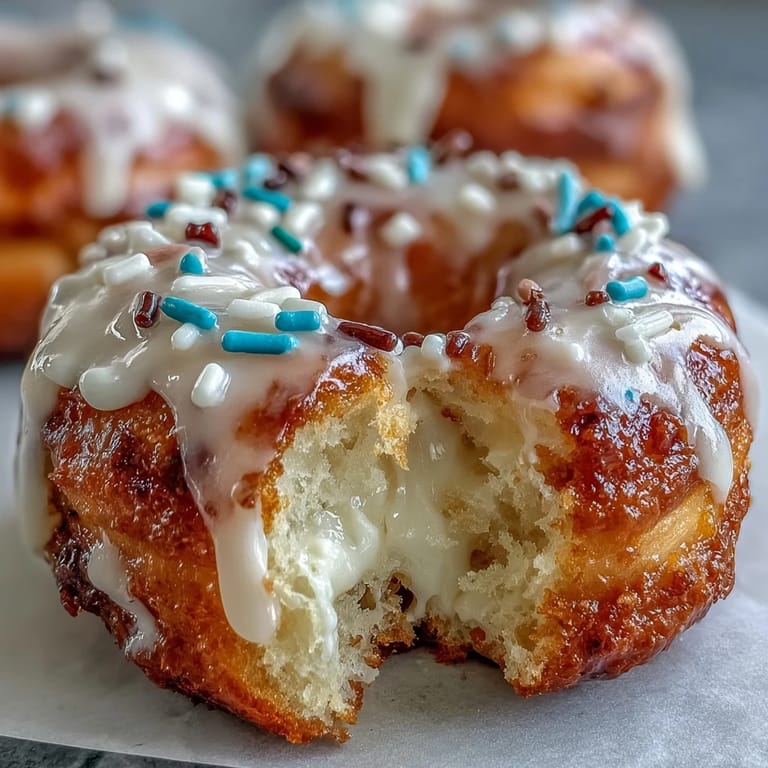
- Mini glazed donuts: Go for 36–freshness is everything, and I learned that stacking styles mix better if you use both plain and filled varieties.
- Powdered sugar: Essential for a smooth, thick icing that dries with a glossy sheen–sifting helps prevent unwelcome clumps.
- Milk: Adding three to four tablespoons lets you control the icing’s consistency; thin for a drizzle, thick for a hearty coat.
- Vanilla extract: Just a teaspoon lifts the whole tower with a rich, bakery aroma.
- Colorful sprinkles: The more variety, the merrier; mixing textures makes the tower shimmer in the light.
- Edible gold stars: Optional, but a sprinkle of gold always gets a round of applause from the table.
- Graduation-themed toppers: These little caps and scrolls turn your tower into a true celebration centerpiece.
- Styrofoam cone (12-inch): Key for height and stability–wrapping in foil keeps things food-safe.
- Wooden skewers/toothpicks: The real heroes for holding each layer in place; the shorter the toothpick, the less the donuts slide.
Tired of Takeout? 🥡
Get 10 meals you can make faster than delivery arrives. Seriously.
One email. No spam. Unsubscribe anytime.
Instructions
- Prep the Donuts:
- Let homemade donuts cool completely or make sure your store-bought batch is pillowy soft and fresh.
- Mix Up the Icing:
- Whisk powdered sugar, milk, and vanilla in a bowl until velvety and just pourable–you’ll know it's right when the icing coats your spoon and slowly slides off.
- Dip and Sprinkle:
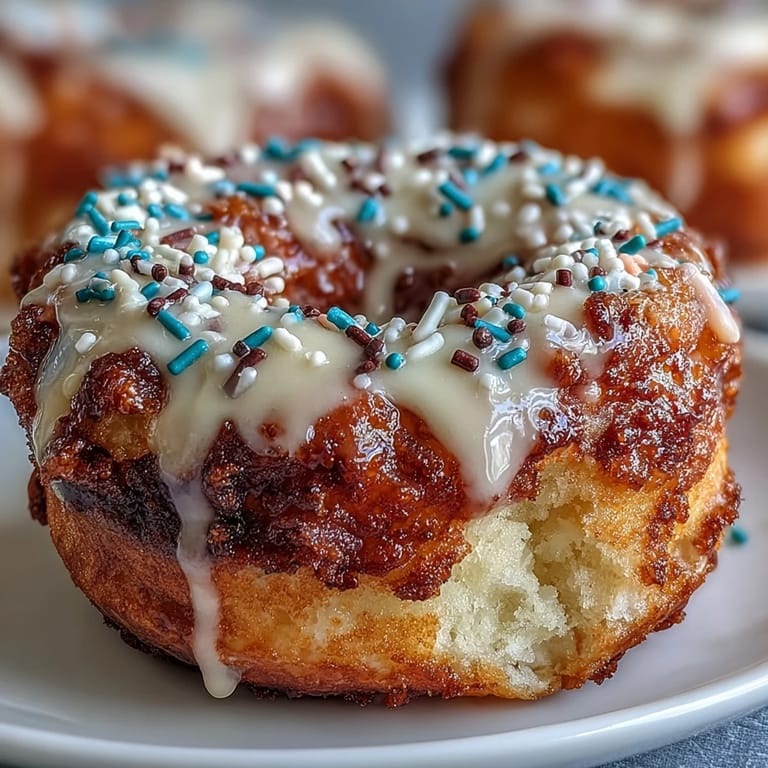
- Dunk the dome of each donut in icing, let the excess cascade back into the bowl, then instantly scatter with a handful of colorful sprinkles–it’s messy, but don’t worry, it’s half the fun.
- Set Up the Tower:
- Place the styrofoam cone in the center of a platter; starting from the base, press donuts onto the cone, securing each with skewers or toothpicks–alternate angles for the sturdiest build.
- Work Your Way Up:
- Continue stacking donuts layer by layer, gently overlapping, patching any sparse spots with extra rings as you reach the tip.
- Decorate With Style:
- Tuck in edible stars or drizzle with extra sprinkles wherever you fancy; the more playful, the better.
- Crown and Serve:
- Perch a graduation topper at the peak and serve within two hours for maximum freshness–expect plenty of oohs and aahs.
 Save
Save  Save
Save A round of applause erupted as the tower was unveiled, but it was the spontaneous clapping when someone tried (and failed) to gently pull out a donut without toppling the stack that made the dish unforgettable. There’s magic in a dessert that turns a graduation table into an event all by itself.
Getting Kids Involved
Donut stacking day is an invitation for even the youngest helpers. Assigning sprinkle duty or handing over a bowl of icing turns drizzly messes into joyful mayhem, and somehow, the splotches all over the counter seem to add extra sparkle to the scene.
Swapping Up Flavors
After a few parties, we started to sneak in chocolate-filled donuts or dusted cinnamon varieties for a surprise in every bite. Bright fruit glazes and a quick dunk into toasted coconut make your tower pop with color and flavor–guests love discovering something new as they pull off each donut.
Serving and Storing Without Stress
Worried about the tower sticking or falling? I learned to always slightly chill the whole cone just before serving: it helps the icing set firm and makes it easy for guests to pick their favorite ring.
- Wrap the base with foil for clean-up ease.
- Extra donut holes can be used to fill gaps.
- Offer a bowl of warm chocolate sauce nearby for an instant donut fondue vibe.
 Save
Save  Save
Save Here’s to graduation milestones and desserts that double as party centerpieces–may your donut tower stand tall, and your celebrations be twice as sweet.
Recipe FAQ
- → How do I keep the tower stable?
Use a sturdy 12-inch foam or cone base and anchor each donut with wooden skewers or toothpicks. Slightly overlap donuts as you work upward to create a stable, interlocked cone.
- → Can I use store-bought donuts?
Yes. Choose fresh mini glazed donuts for uniform size and easy stacking. If using chilled or refrigerated items, bring to room temperature before dipping in icing for better adhesion.
- → What's the best icing consistency?
Whisk powdered sugar with 3–4 tablespoons of milk and a touch of vanilla until smooth but still pourable. Thick enough to cling, thin enough to drip slightly for even coverage.
- → How far ahead can I assemble the tower?
Assemble no more than two hours before serving and keep covered at room temperature. Freshness and texture are best within that window, especially for glazed donuts.
- → Any tips for decorating or variations?
Mix donut flavors and glazes for visual contrast, add mini chocolate or filled donuts for variety, and tuck edible gold stars or themed toppers into the peak for a festive finish.
- → How can I speed up icing setting?
Allow dipped donuts to rest on a rack for about 15 minutes. For quicker set, place them briefly in a cool spot or in front of a fan, but avoid refrigeration which can cause condensation on glazes.