Save
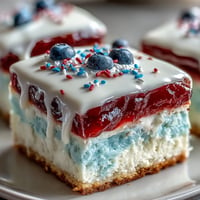
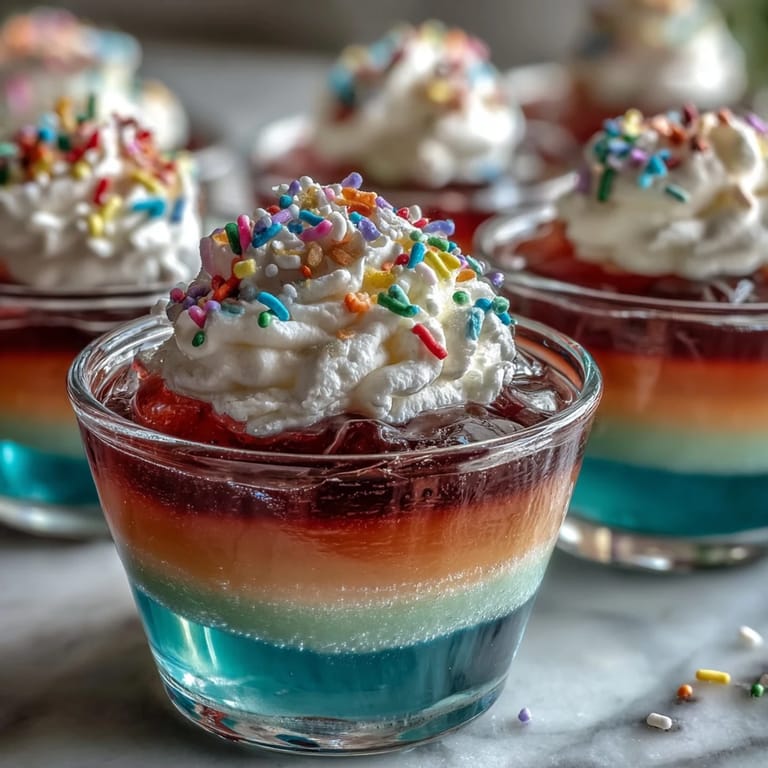
Save The first time I made Rainbow Jello Cups, it was more a matter of curiosity than anything else—the kitchen was overflowing with giggles from my niece and nephew, who insisted on choosing the color order. The whole house seemed to take on the fruity scent of dissolved gelatin as we mixed each vibrant shade. Every layer felt like painting with edible watercolor, and by the time we finished, even I was mesmerized by the playful stripes. There’s something undeniably joyful about watching those bright bands take shape in clear cups. It’s the kind of dessert that feels like a celebration, whether or not there’s an occasion.
When my neighbor’s twins visited last summer, they stood on tiptoes at the fridge, practically marking the minutes until the next Jello layer was ready. We joked about rainbow science and tasted the drips, and somehow, the slow setting times turned into the perfect excuse to share stories. Serving the cups felt like popping open confetti—the kids' faces lit up, but the adults seemed just as enchanted. That afternoon, laughter blended with fruit and cream in the happiest way possible.
Ingredients
- Strawberry (red) Jello: Adds a sweet, familiar flavor and starts the rainbow off with a bang; dissolve fully to avoid graininess.
- Orange Jello: Offers tangy citrus notes; measure the water carefully for even setting.
- Lemon (yellow) Jello: Brings brightness and zesty balance; don’t rush the chilling so it stays vivid.
- Lime (green) Jello: Refreshing touch of tartness; layer gently to prevent mixing colors.
- Berry blue (blue) Jello: Pops visually and tastes delicious; be sure it's cool enough before pouring for sharp stripes.
- Grape (purple) Jello: Deepest layer of flavor; setting it first ensures a stable base.
- Boiling water: Activates gelatin smoothly; always dissolve thoroughly with a steady whisk.
- Cold water: Helps achieve perfect texture; don’t skimp for best results.
- Whipped cream or topping: Creamy finish to offset fruity layers; use fresh for best stability.
- Rainbow sprinkles (optional): Fun crunch and visual flair; sprinkle on just before serving so they stay crisp.
Tired of Takeout? 🥡
Get 10 meals you can make faster than delivery arrives. Seriously.
One email. No spam. Unsubscribe anytime.
Instructions
- Start with Purple:
- In a mixing bowl, combine the grape Jello powder with 1 cup boiling water and whisk until the grains vanish. Stir in 1 cup cold water, then pour a couple tablespoons into each cup—watch as the liquid catches the light.
- Chill the Base:
- Slip the cups onto a fridge shelf and let them set for about 35 minutes; the surface should be springy and not sticky when ready.
- Add Blue Layer:
- Prepare berry blue Jello as before, then carefully spoon it over the purple—steady hands keep the stripes crisp. Let it chill and firm up before moving on.
- Stack Green:
- Mix lime Jello, cool slightly, and pour a thin layer atop the blue; pause for a snack break while it chills so you don’t get impatient.
- Yellow Next:
- Stir lemon Jello, then layer neatly—pour slowly along the cup’s edge to avoid bubbles. The kitchen starts to look like an art studio at this point.
- Orange Magic:
- Once yellow is set, prep orange Jello and repeat the layering process; the colors get brighter as you go.
- Finish with Red:
- Heat strawberry Jello, pour atop orange, and admire the nearly completed rainbow—this final chill is the hardest to wait for.
- Top and Serve:
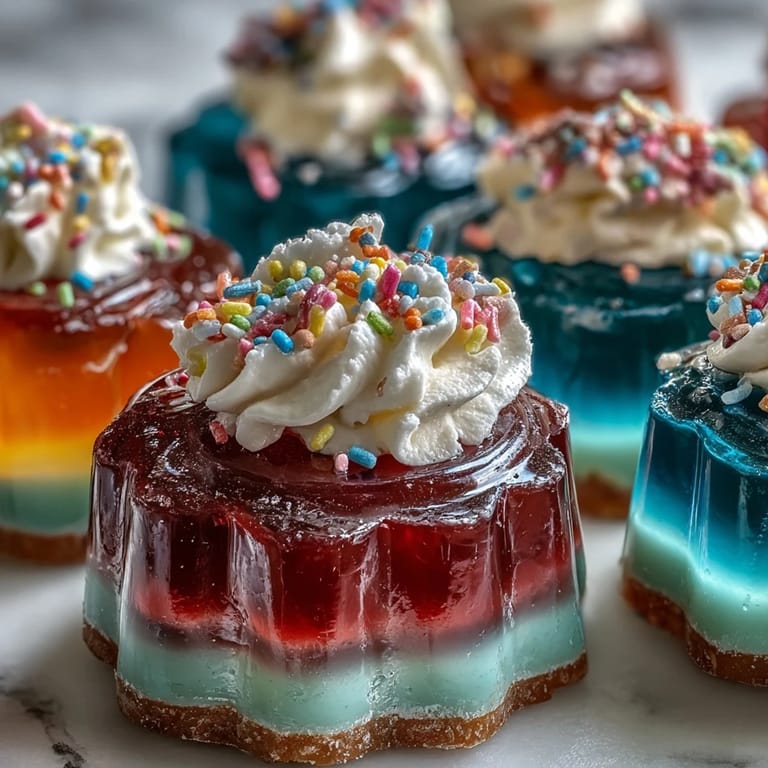
- Once the red layer is firm, swirl whipped cream on each cup and add rainbow sprinkles. Serve cold, preferably with smiles all around.
 Save
Save One birthday party, I caught a parent sneaking seconds after all the kids had chosen their cups. She confessed it reminded her of her own childhood but was even more fun to share. That moment proved to me that the best desserts don’t just taste good—they spark quieter connections as well.
Secrets to Layering Without Mistakes
If you pour each layer slowly and keep the cups tilted just a touch, bands turn out sharper—even if you’re not naturally patient. I always set a kitchen timer for each step and dance around to keep spirits up between layers; it breaks up the waiting.
Making It Dairy-Free or Sugar-Free
Swapping in coconut whipped cream gives an airy finish with less worry about allergies, and nobody notices the swap. Sugar-free Jello flavors work as easily as regular—just add a tiny extra stir because they can be clumpier.
Fun Serving Ideas for Parties
Setting up a Jello “rainbow bar” with extra toppings lets guests personalize each cup, and kids love mixing sprinkles or fruit. Mini cups are cute for little hands and make cleanup easier afterward. Don’t forget clear plastic spoons—they show off each colorful layer as you scoop.
- Check cups for cracks before filling.
- Prep all flavors before starting.
- Keep the fridge space clear for fast chilling.
 Save
Save Enjoy the burst of color and flavor—these cups always bring out the inner kid in everyone at the table. Share them generously, and you’ll have guests lining up for more.
Recipe FAQ
- → How do you achieve distinct rainbow layers?
Each flavor must be set fully in the refrigerator before pouring the next, allowing crisp separation and vibrant colors.
- → Can I change the flavors or colors?
Yes, you can use any Jello flavors or colors you prefer, and even sugar-free options for a lighter treat.
- → What toppings work well besides whipped cream?
Coconut whipped topping, fruit, or rainbow sprinkles add extra flair and flavor to the dessert.
- → Is it possible to make dairy-free cups?
Substitute regular whipped cream with coconut or non-dairy whipped topping for a dairy-free alternative.
- → What tools do I need to prepare these?
Use clear cups, mixing bowls, a whisk or spoon, measuring cups, and a refrigerator to create the layered effect.
- → How long does it take to set all layers?
Each layer requires about 30–40 minutes to chill, with the whole process taking approximately 4 hours.